Crime Scene VR
Duration: 3 months
Team Size: Small
Position: Technical Designer
Developer: BUAS
Engine: Unreal 4
Description
In just a short development sprint, I helped build a crime scene investigation simulator prototype aimed at training investigators. The project centered around a single, fully interactive scenario that showcased all the investigative tools we created—from evidence collection to scene analysis. This prototype not only highlighted our technical capabilities but also demonstrated how immersive simulations can streamline training and decision-making in complex investigative situations.
Whiteboard
For this project, I designed a real-time interactive whiteboard in Unreal Engine that lets users draw directly onto a 3D surface. The whiteboard itself is a simple plane mesh with a custom material using a canvas render target as its texture, keeping the model lightweight while enabling full interactivity.
Solving the Marker Interaction
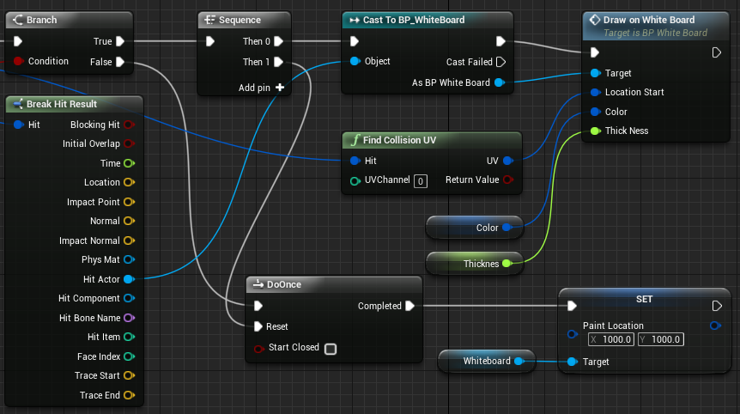
The main challenge was accurately detecting where a marker touches the whiteboard. I approached this by casting a short ray from the marker tip to detect collisions. Using Unreal’s “Find Collision UV” node, I could retrieve the exact coordinates of the hit on the model. This allowed me to translate 3D hit locations into precise 2D positions on the canvas render target.
To simplify the workflow, I used a plane inside a frame for the whiteboard, but the system is flexible enough to work with more complex meshes and dedicated UV channels. Once the hit location is determined, I pass it along with the marker’s color and stroke thickness to the whiteboard blueprint. Stroke thickness is dynamically calculated from the raycast length, while color is set via a variable.
Creating Smooth Strokes
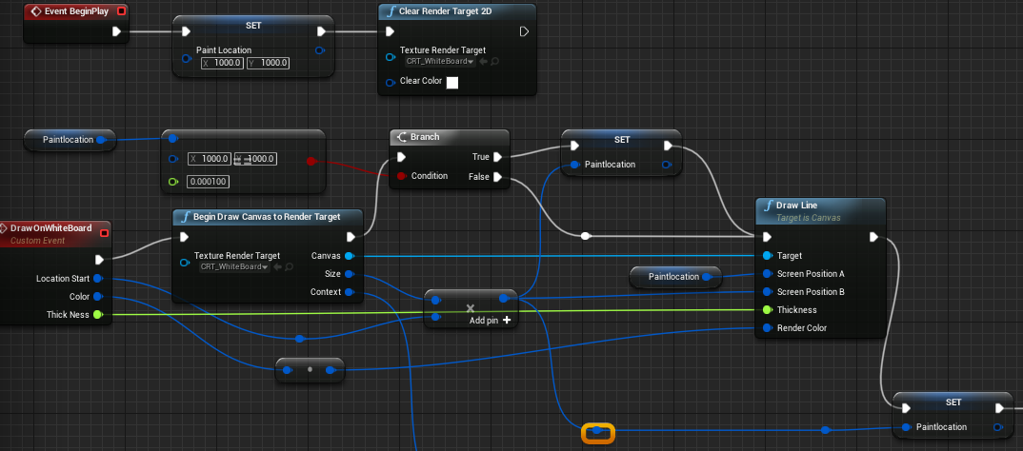
In the whiteboard blueprint, a custom event handles the drawing. Lines are drawn between consecutive hit positions on the canvas render target. Although the strokes appear smooth and curved, they are actually composed of many small straight segments, which gives the impression of continuous, natural handwriting.
This system demonstrates a balance between technical efficiency and user experience a simple 3D model and smart use of render targets allow realistic drawing interactions without heavy geometry or complex textures.
Hidden Evidence
Blacklight
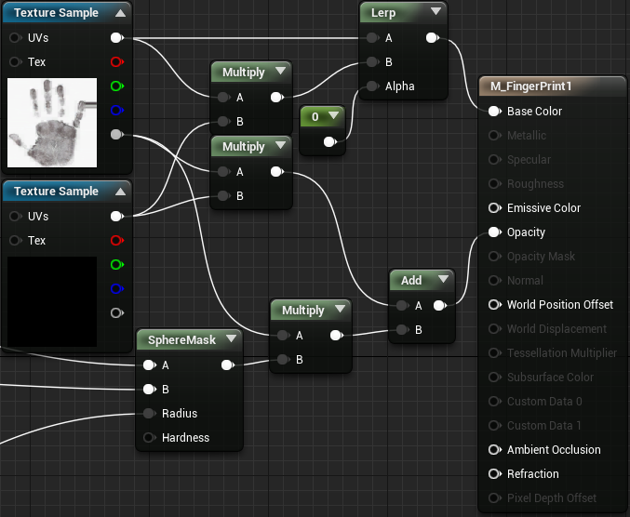
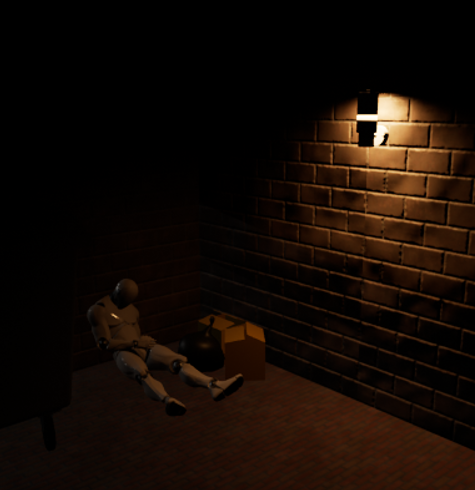
For a VR crime scene, we needed invisible clues. Things that can’t be seen with the naked eye. I worked on making them visible only when shining a blacklight flashlight on them. Once the light is removed, the clues disappear again.
I achieved this using the opacity channel of the “hidden clue” material. Making the clues appear only where the light shines was a bit tricky, but I solved it with a sphere mask. This allowed me to control the radius of visibility based on the player’s distance from the object.
Here’s how it works: I send a raycast from the flashlight and use its length to determine the radius of the sphere mask. For testing, I spawned a sphere and scaled it according to the raycast length, which gave me a dynamic visual of the area illuminated by the blacklight.
Duster
While a blacklight is useful for detecting clues, evidence needs to be permanently visible to be logged. To solve this, I applied a technique I learned from the whiteboard: I used a render target combined with the sphere mask on the opacity layer.
Anything drawn into this render target texture becomes permanently visible. This allows the “dust” to reveal clues under blacklight and stay visible even after the light is gone, enabling proper evidence collection.